Create and Edit a Website Page
Click on a section title to jump down the web-page:
A. Introduction
B. Page title(s)
C. Layout editor screen
D. Add a section
E. Create page content – text
F. Create page content – image
G. Move content blocks on a page
H. Copy a content block
I. Copy a section
J. Save or discard your work
K. Preview of page
A. Introduction
1. This chapter covers basic elements of page content. Later chapters cover advanced page content.
2. IMPORTANT: Teammates should not work on the same page at the same time on separate computers. Clicking on the Save button will create unpredictable results.
3. If you have just completed the Wildfire Initial Setup Guide or just logged in to work on your website, you will be at the Overview screen.
a) To create a new page for your website, click on the Add new page button.
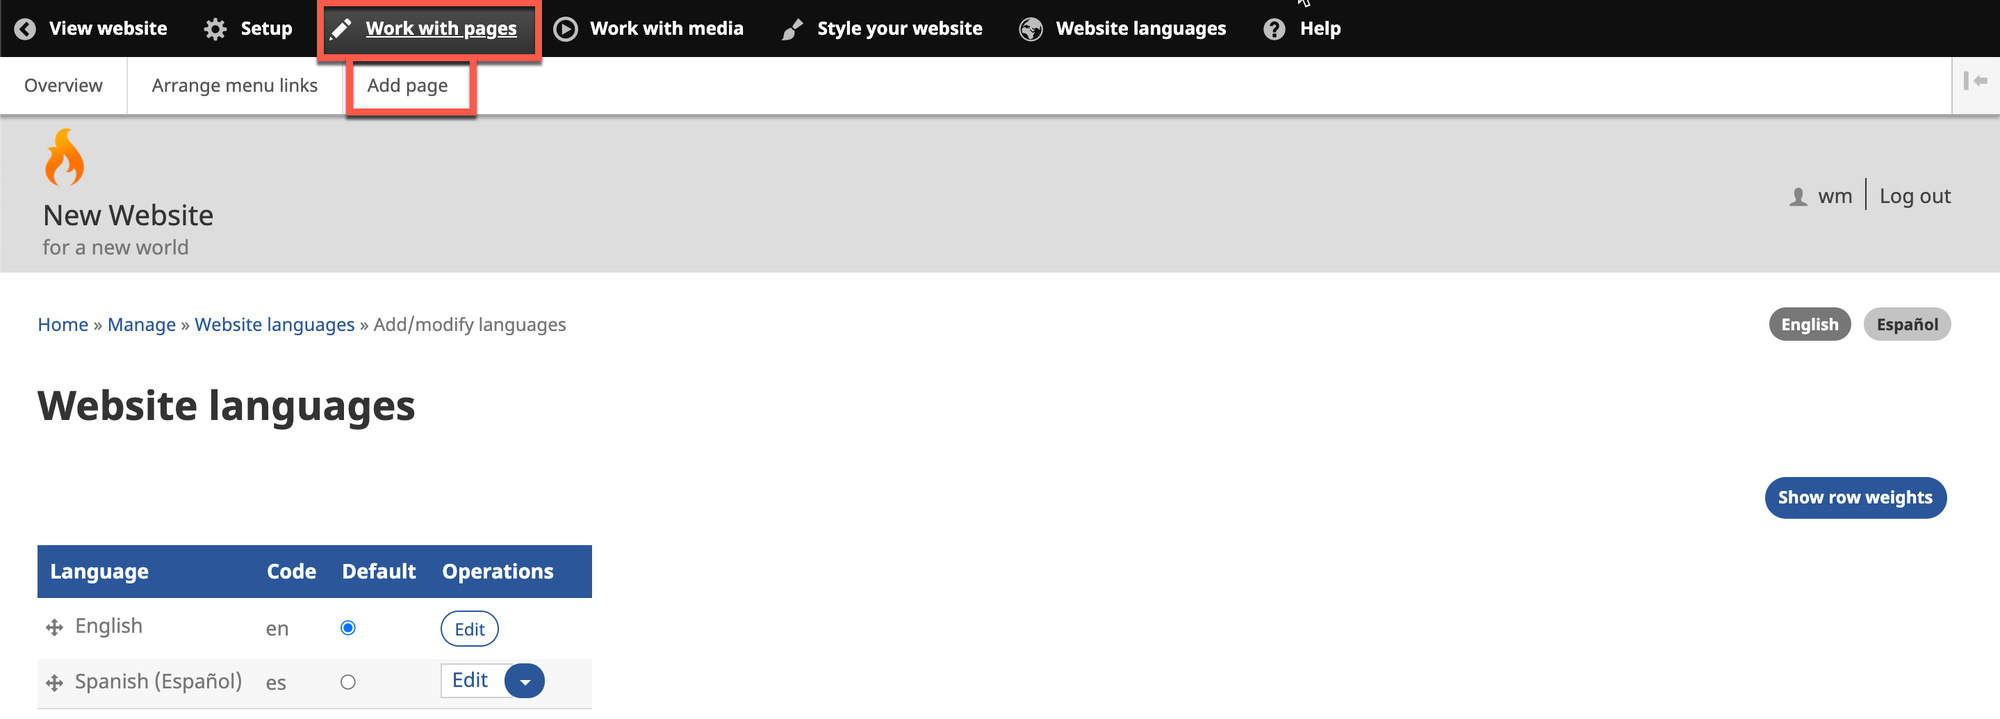
4. If you are elsewhere in the Wildfire system and you wish to add a new page, click on Work with pages in the top row of the Wildfire menu, then click on Add page from the sub-menu.
B. Page title(s)
1. At the next screen, write a page title in each Navigation Language.
2. Below the title area of the screen, check or uncheck the box to Hide the page title. Checking this box will keep the title from showing at the top of the website page, but it will still show in the website menu.
3. Below the title area of the screen, check or uncheck the box to Show social media share links. Checking this box will display links on this page for the social media channels chosen on the screen Style your website => Social media => Share links. (See Chapter 4, Section F.)
4. Click on the tab Menu settings.
a) Click on the drop-down list Menu section and select where on the menu you want this page to appear.
1) <Main menu> – The root menu level, always visible to visitors
2) Another menu item – Places the page on a sub-level of the menu, not visible until you hover your cursor over the parent menu item
3) Do not show on menu – This option appears at the bottom of the drop-down list.
b) Check or uncheck the box for Auto menu title.
1) Checked – uses the page title as the menu title (recommended)
2) Unchecked – requires an alternate menu title to be entered in the spaces below.
5. Click on the tab URL ending.
a) Check or uncheck the box for Auto URL ending.
1) Checked – uses the page title as the URL ending (recommended)
2) Unchecked – requires an alternate URL ending to be entered in the spaces below.
6. Click on the Save button at the bottom left of the screen.
C. Layout editor screen
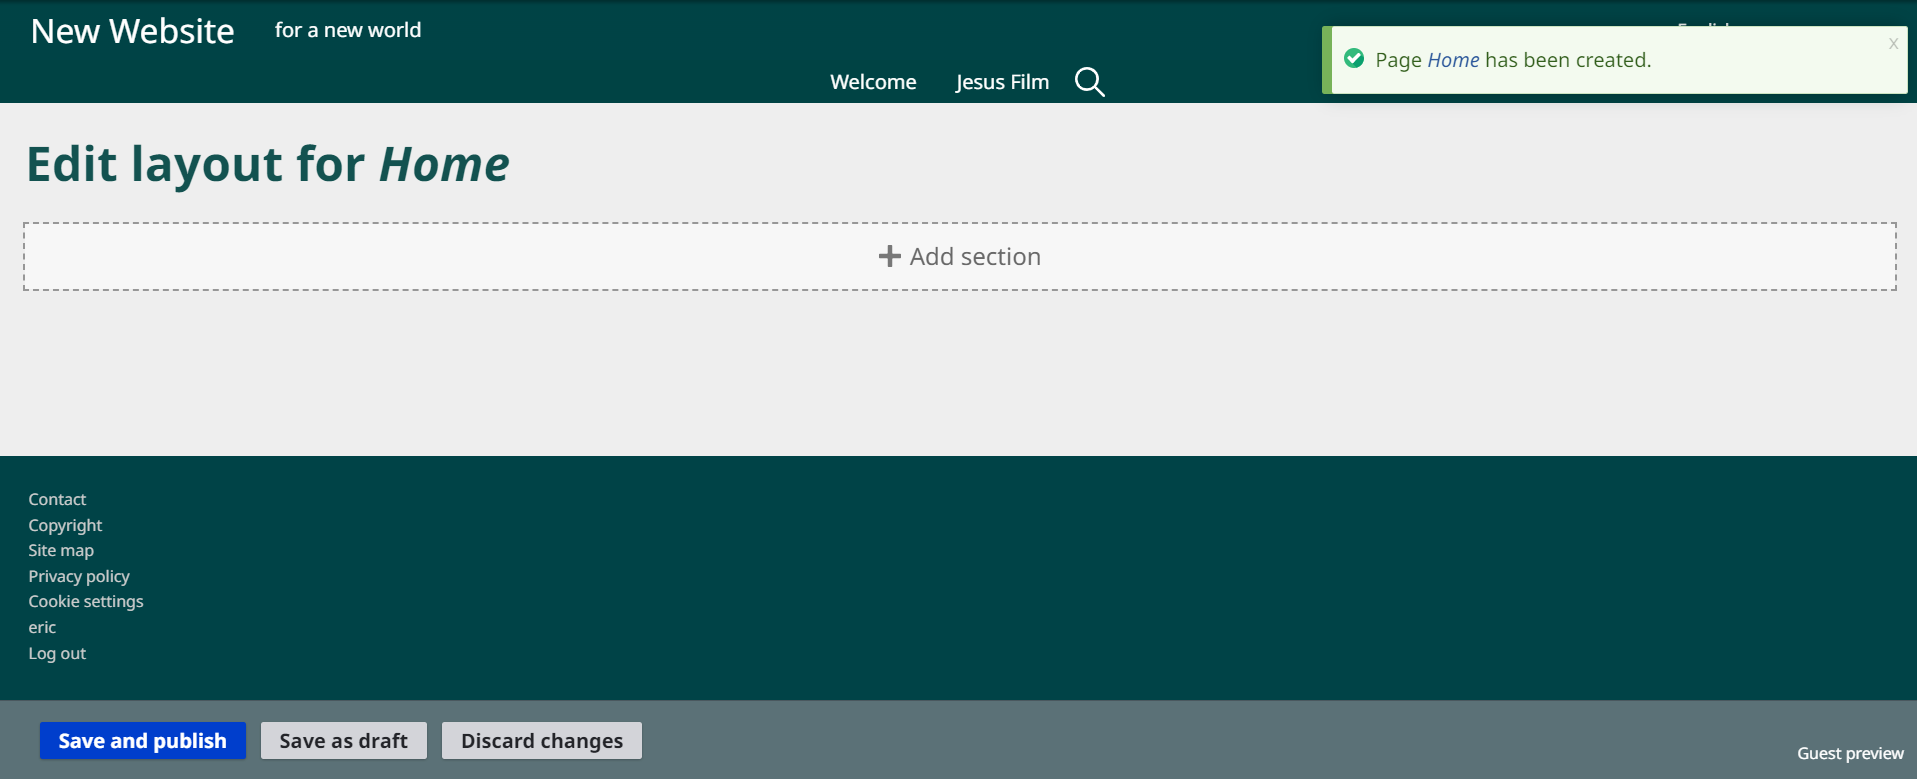
1. The next screen shows the Layout Editor screen.
2. There are two elements to the layout of every web page.
a) Sections: Major divisions of the page. You may use one or more sections on each page, and you may mix the types of section on a single page.
Types of section include the following layout styles:
1) One column
2) Two columns
3) Three columns
4) Four columns
5) Slideshow (images)
6) Inline
b) Content blocks: Containers for the actual page content. You may use one or more blocks in each section and/or column.
Types of blocks include the following:
1) Audio (separate audio files)
2) Dictionary App
3) Downloadable file
4) FCBH Audio Player (Bible audio from Faith Comes By Hearing)
5) Gallery (images)
6) Google Map
7) Gospel Films (Lumo films from Faith Comes By Hearing)
8) Iframe
9) Image
10) Image with Text
11) Inspirational Films (Jesus film, Magdalena film)
12) PDF
13) PDF Library
14) Playlist (several audio or video files)
15) Playlist (scripture)
16) Reader App
17) Remote Video (YouTube, Vimeo, etc.)
18) Scripture App
19) Text
20) Verse of the Day
21) Video (separate video files)
3. In this chapter, we will talk about basic content blocks – text and images. In later chapters, we will cover the other types of content blocks.
D. Add a section
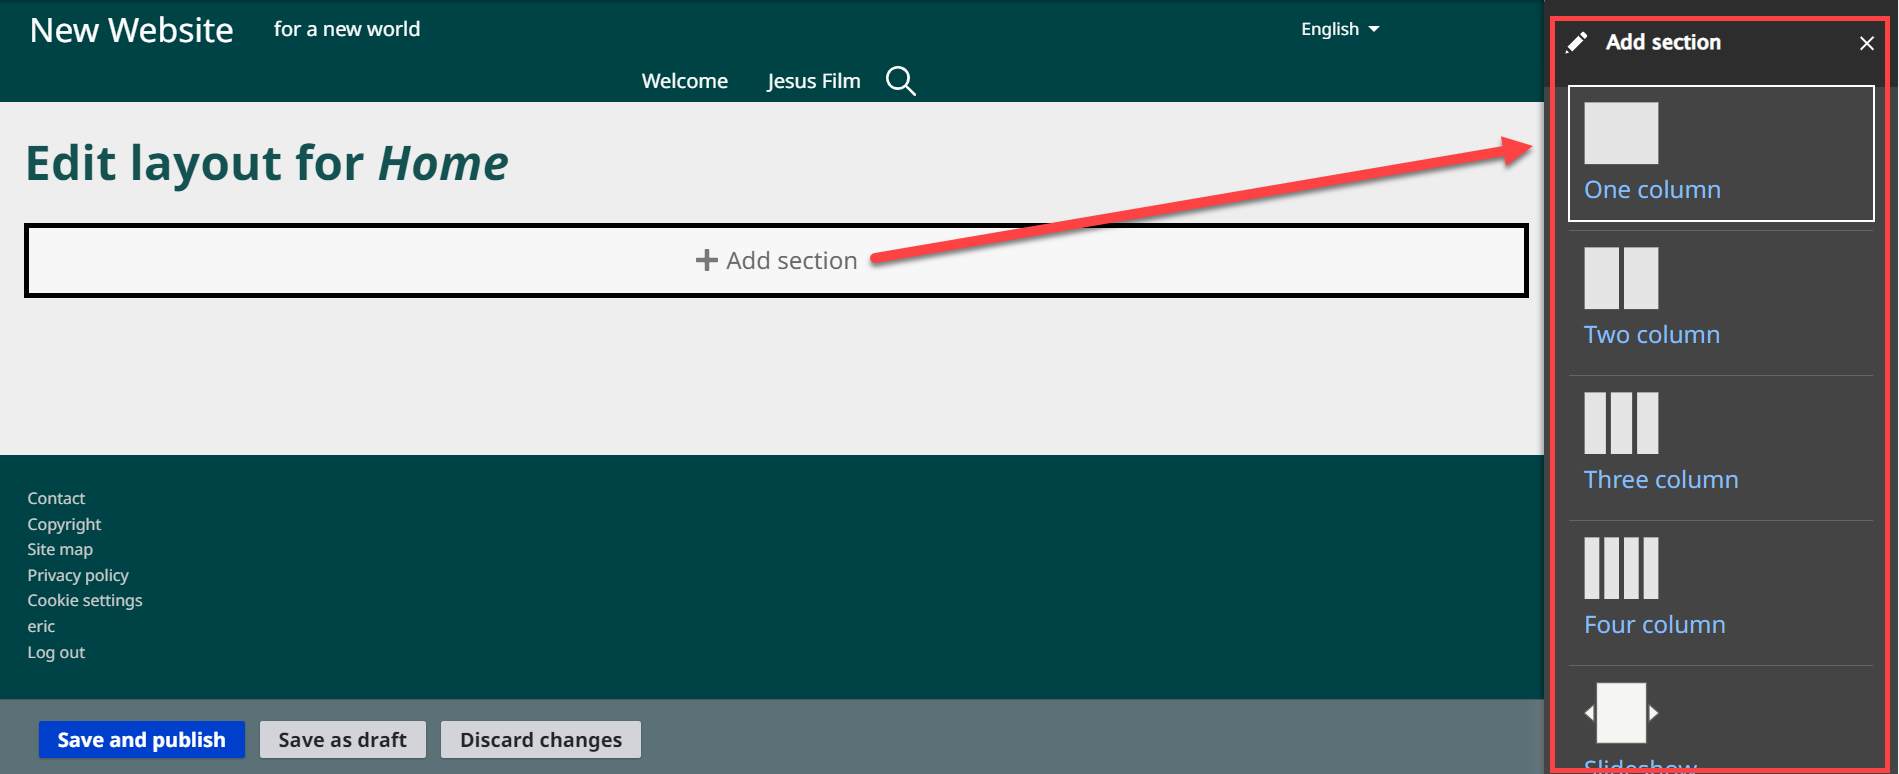
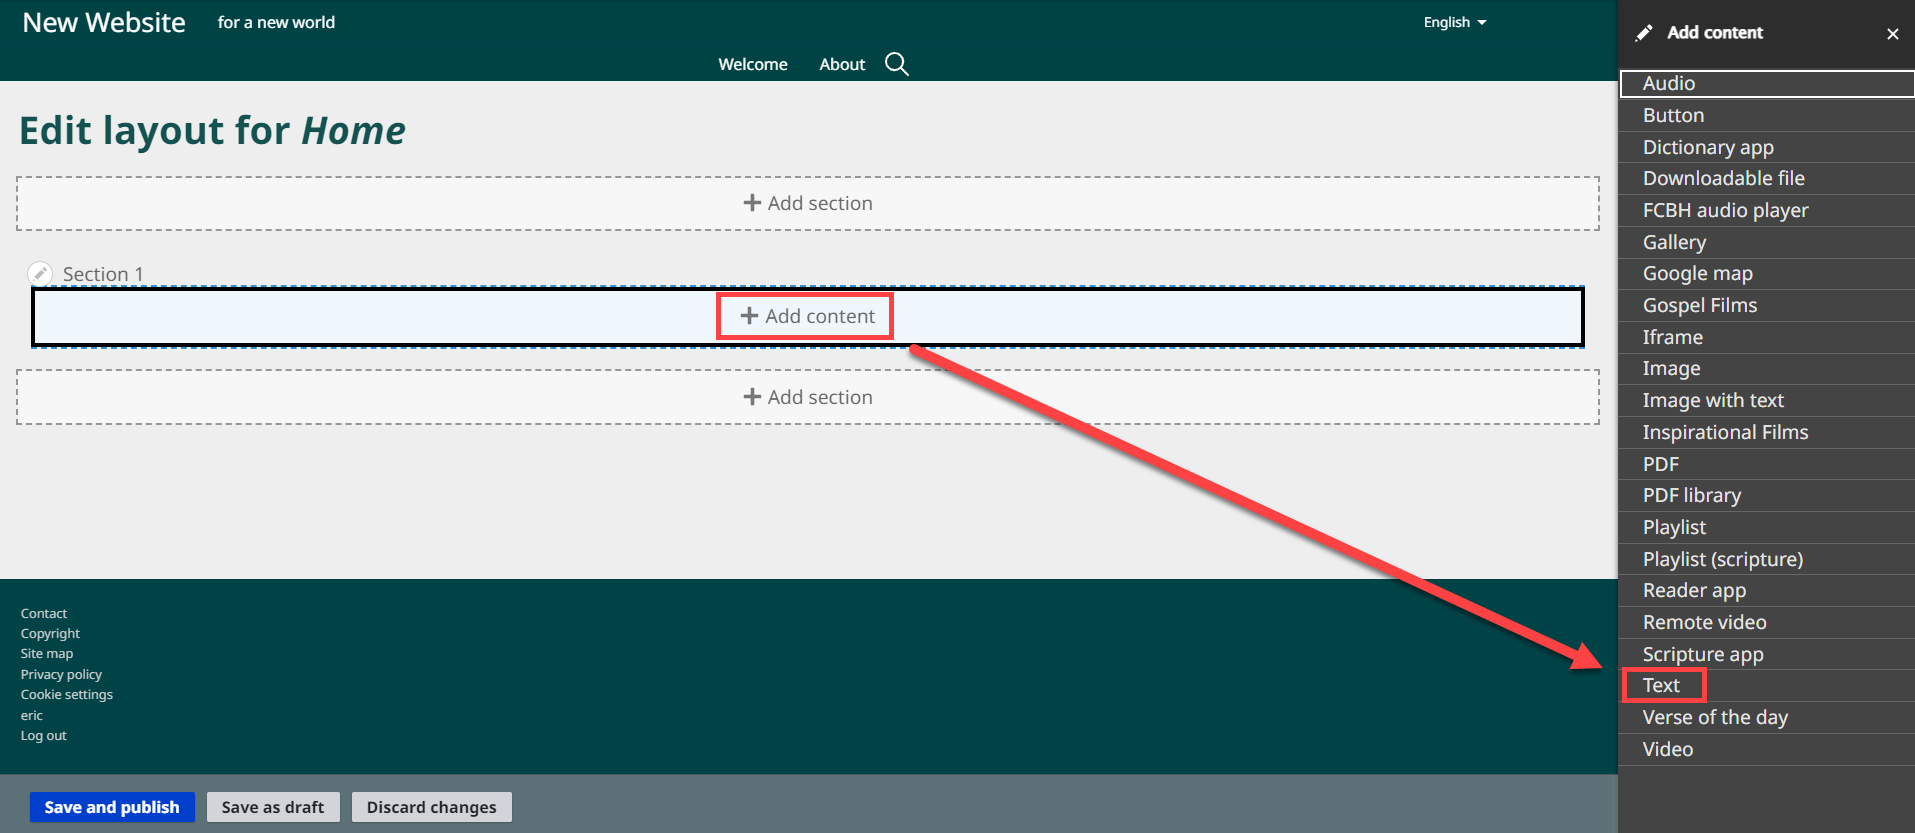
1. Click on the link + Add section.
2. A sidebar opens, displaying the types of section layout.
3. Click on a layout style to select it.
4. The main layout display changes to reflect the layout style selected for that section. A new Content block is shown in each part of the section.
In the following image, a one-column section was selected, so there is a single Content block.
In the next image, a three-column section was selected, so there are three separate Content blocks.
5. Note that there are now Section selectors both above and below the section just filled. This allows you to add sections before and after the current section.
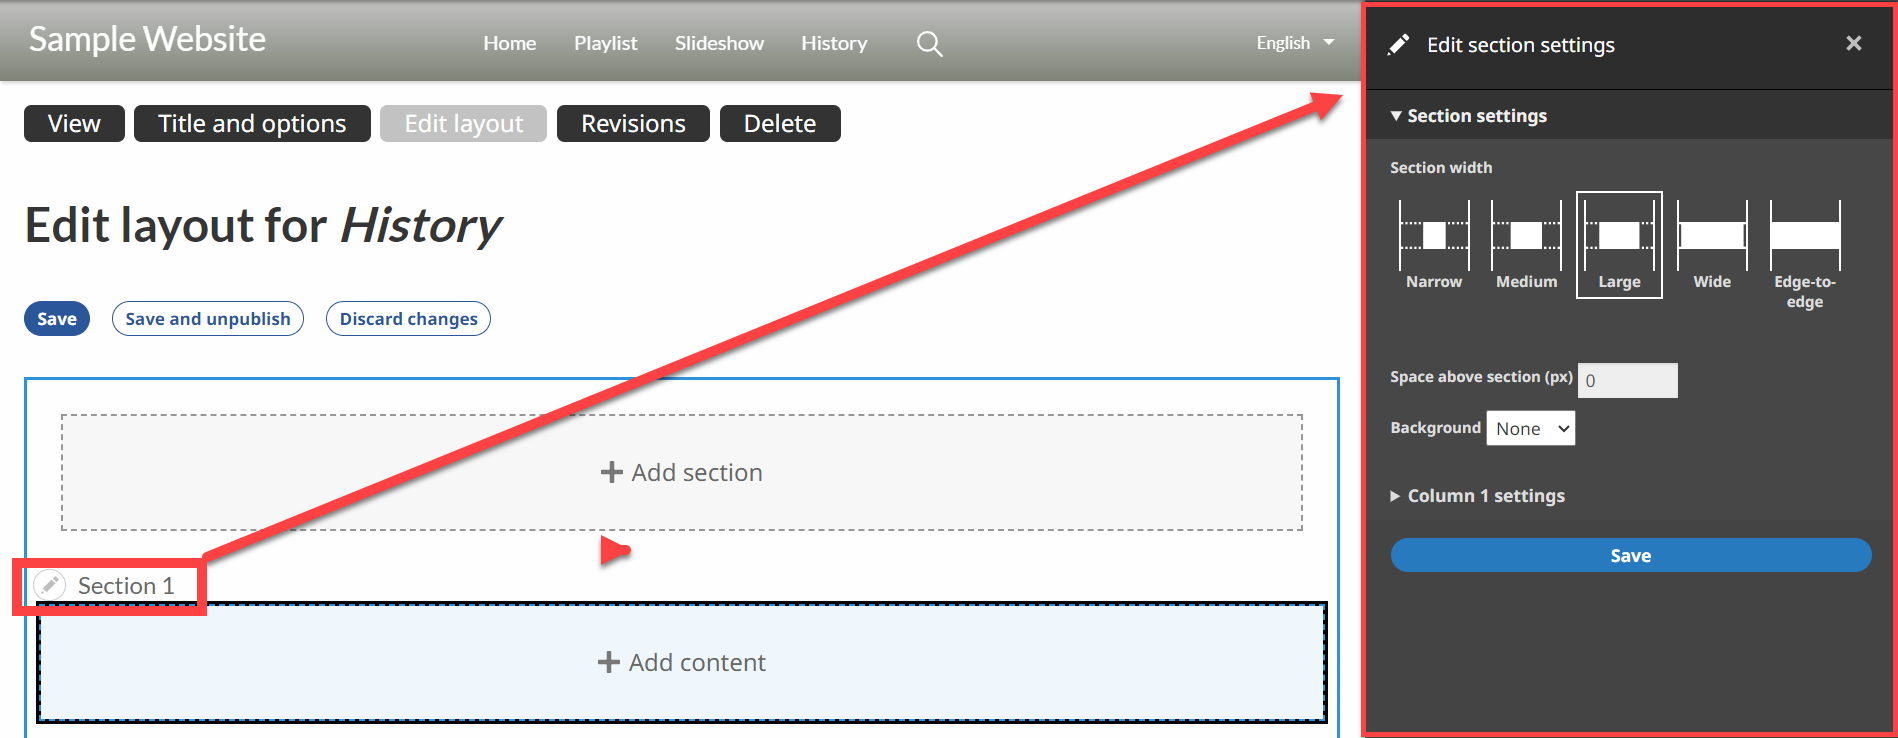
6. You may edit an existing section and change how it appears on the website page.
a) Click on the pencil icon next to the link Edit Section at the upper left edge of the section and choose Edit section settings.
b) A sidebar opens to the right.
c) You may choose the relative width of the section on the visible page.
d) You may choose whether the whole section has a colored background (from a limited selection within the color scheme) or an image as a background.
e) For multicolumn sections, you may select different background colors for each column, and you may specify the relative width of each column in percentages.
f) Once you are finished, click the Save button.
7. If desired, you may delete a section.
a) Click on the pencil icon next to the link Edit Section at the upper left edge of the section and choose Delete section.
b) A sidebar opens to the right.
3. Click on the option Text.
4. A new sidebar opens with features to write and format text.
a) Write text for the page. (Text editing functions are covered in Chapter 7.)
b) Click on the Save button at the bottom of the sidebar.
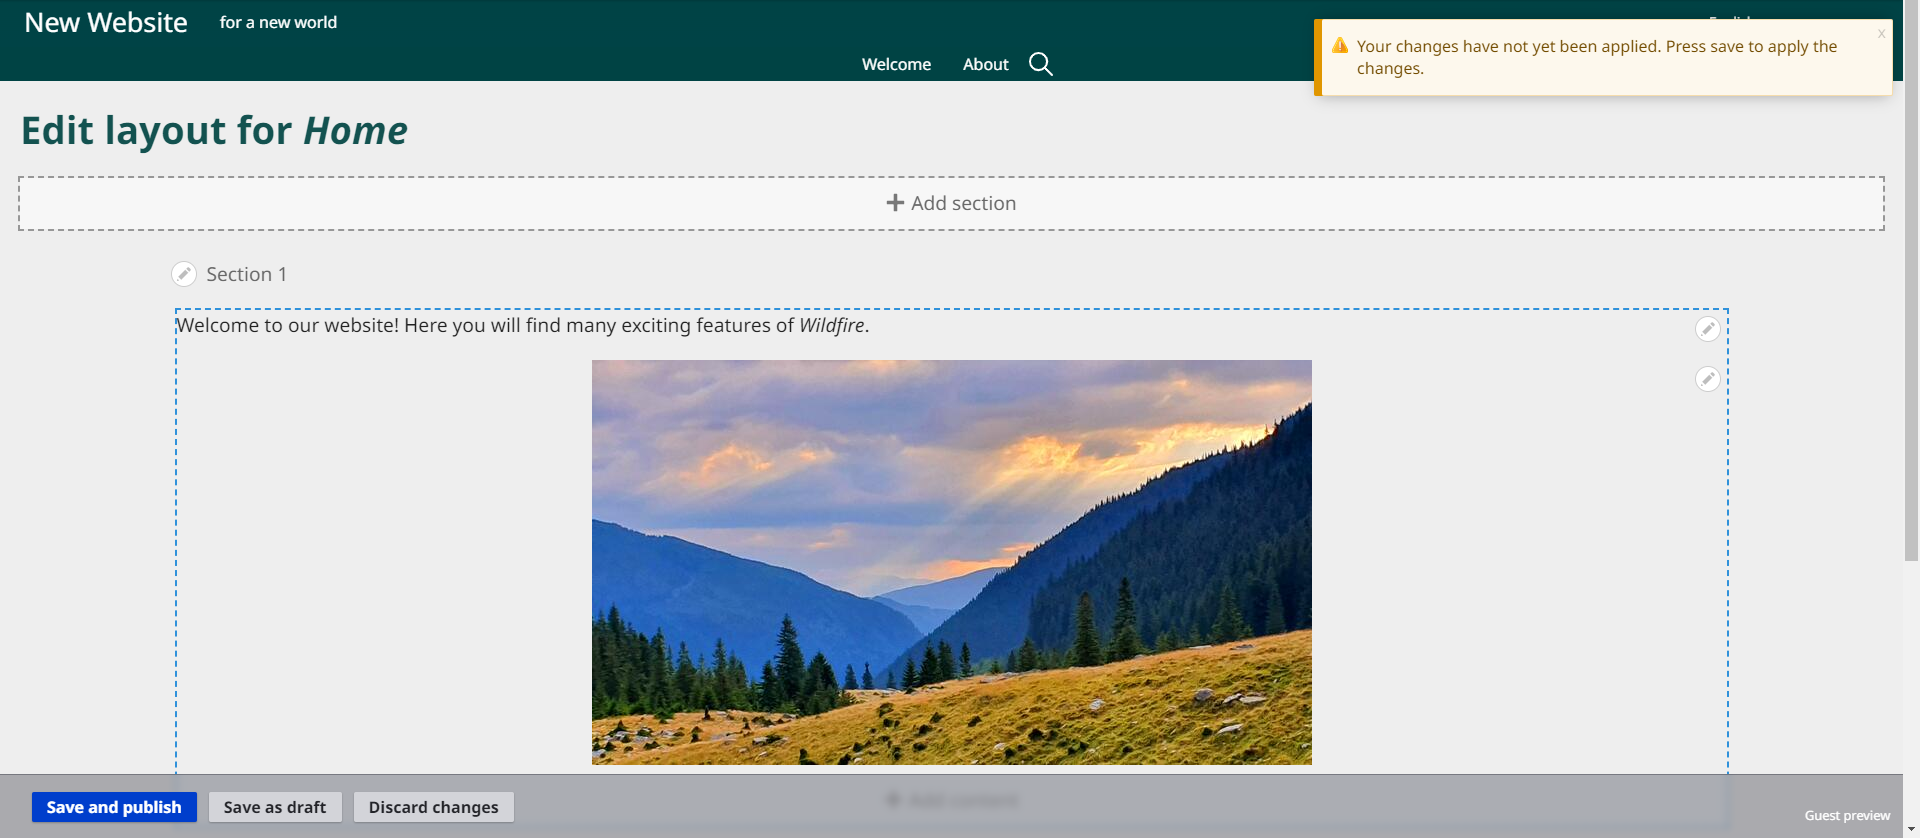
5. Your text is displayed in the selected Content block on the layout screen.
6. Note that a new Content block appears beneath the block just filled. This allows you to add another block to the same section.
7. Options:
a) Continue adding content to the page.
b) Click on the Save and publish button.
If the website is launched, this will make the page immediately visible to the public.
c) Click on the Save as draft button.
If the website is launched, the page will be added to the website but will not be visible to the public until you choose to publish it.
Before the website is launched, Save and publish and Save as draft have little functional difference, although the page listings look different on the Overview chart.
d) Click on the Discard changes button.
This returns you to the Overview screen without saving your work on this page. All work will be lost.
F. Create page content – image
1. Click on a link + Add content.
2. A sidebar opens, displaying the types of block content.
3. Click on the option Image.
4. A new sidebar opens with features to select and format an image.
a) Click on the Add media button.
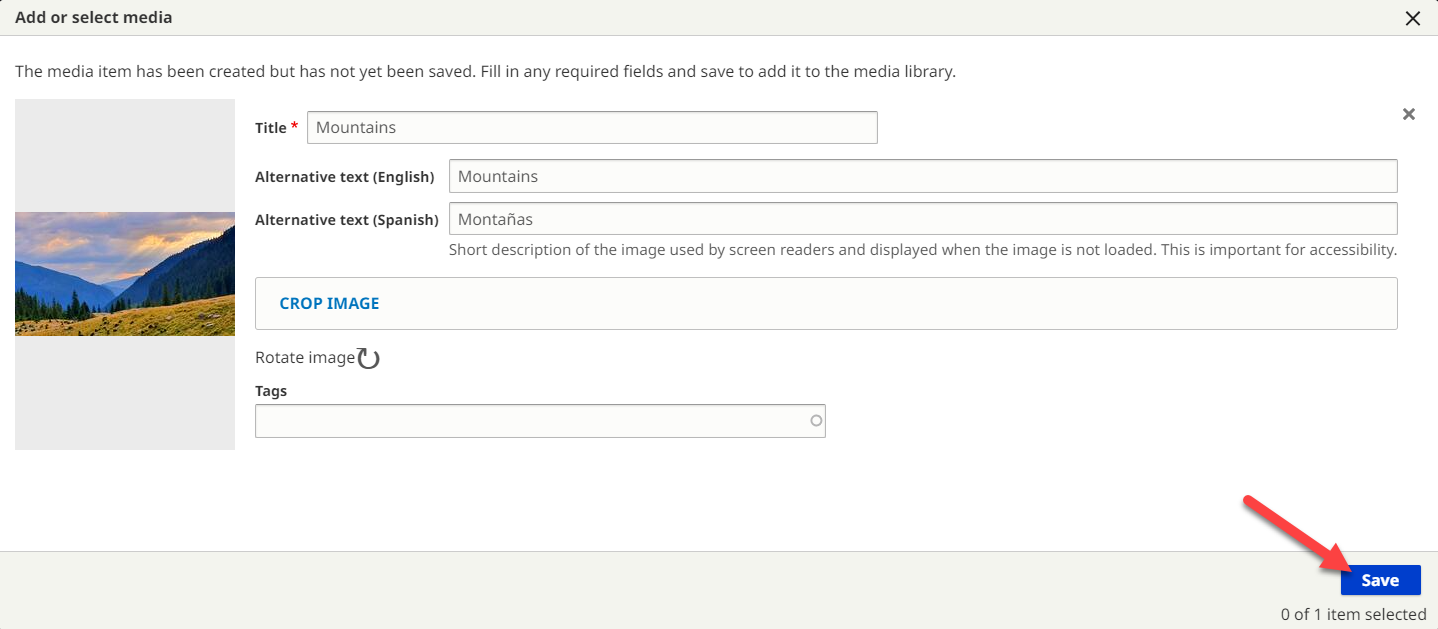
b) The Add or select media working box opens.
c) If you have already uploaded images to your website, they will appear in the lower section of the working box.
d) To upload new images, click on the Choose File or Browse… button.
e) Another pop-up window appears, showing you the file directory on your computer.
f) Browse and choose the desired image.
g) Click on the image file name, then click on the Open button (or double-click on the image file name).
h) The image will now appear in the Add or select media box.
i) In the space titled Title, give the image a helpful title. Delete the extension .jpg, .png, etc. as these are not needed for an image title.
j) In the space titled Alternative text, write a brief description of the image in each navigation language.
k) You may also crop and/or rotate the image using the tools provided or assign tags to the image.
l) Click on the Save button.
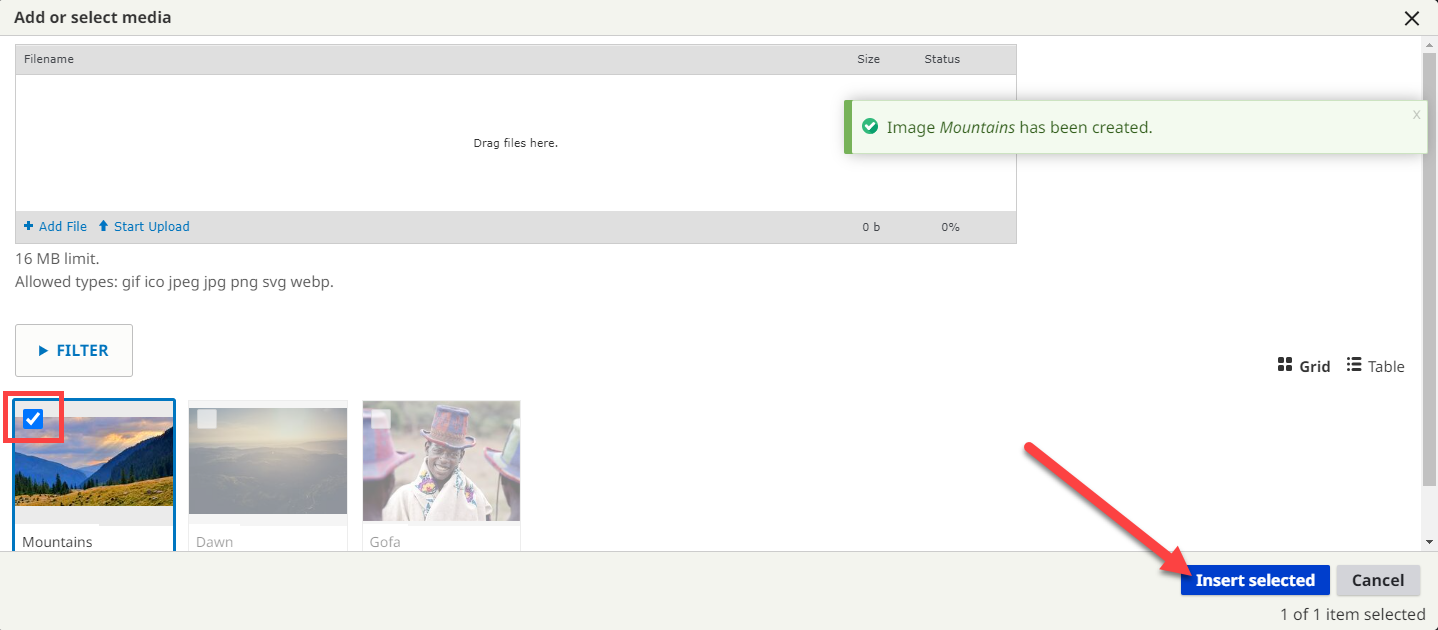
m) The image now appears in the lower section of the working box.
n) Check the box at the upper left of the image, then click on the Insert selected button.
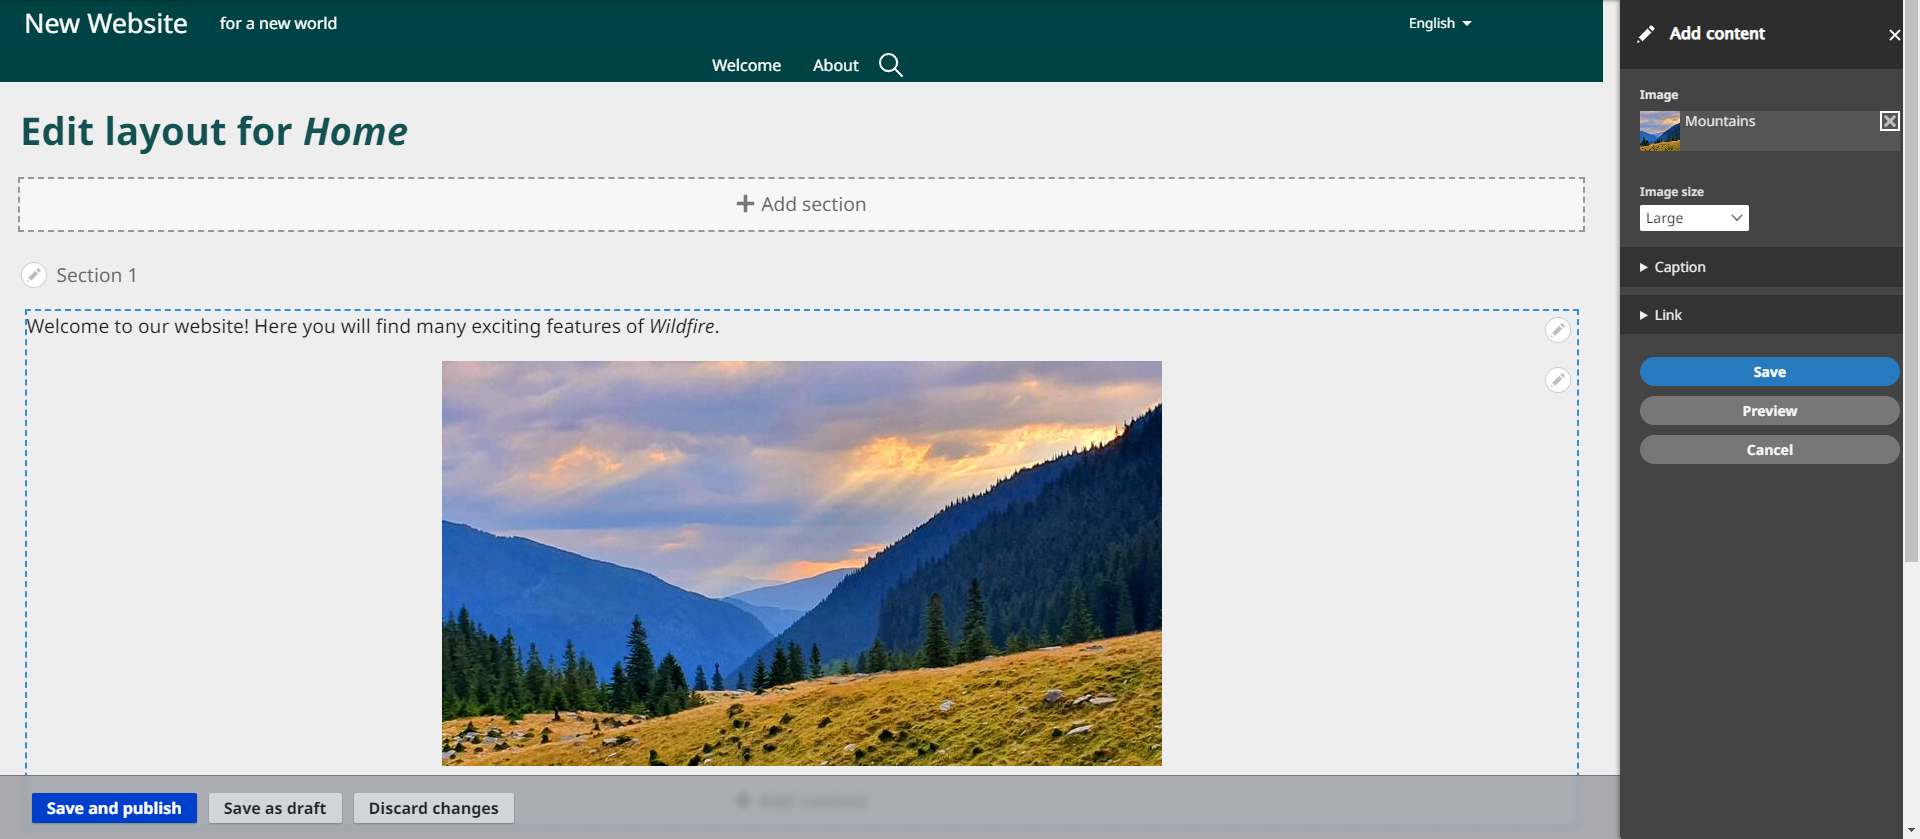
o) The image now appears in the layout editor, with the Image sidebar still showing.
p) Change the size of the image on the page by clicking on the drop-down list titled Image size.
q) You may write a caption for the image and choose whether it is displayed above or below the image.
r) You may configure the image as a hyperlink to another part of this website or to another website altogether.
1) External website: In the space titled Link, enter the URL of the external website.
2) Another page on this website: In the space titled Link, begin to write the title of the page. A list will appear of page titles which match. Select the desired page.
s) IMPORTANT: You must click on the Save button at the bottom of the sidebar, or all you have done with the image will be lost!
t) The image now appears in layout editor, without the Image sidebar.
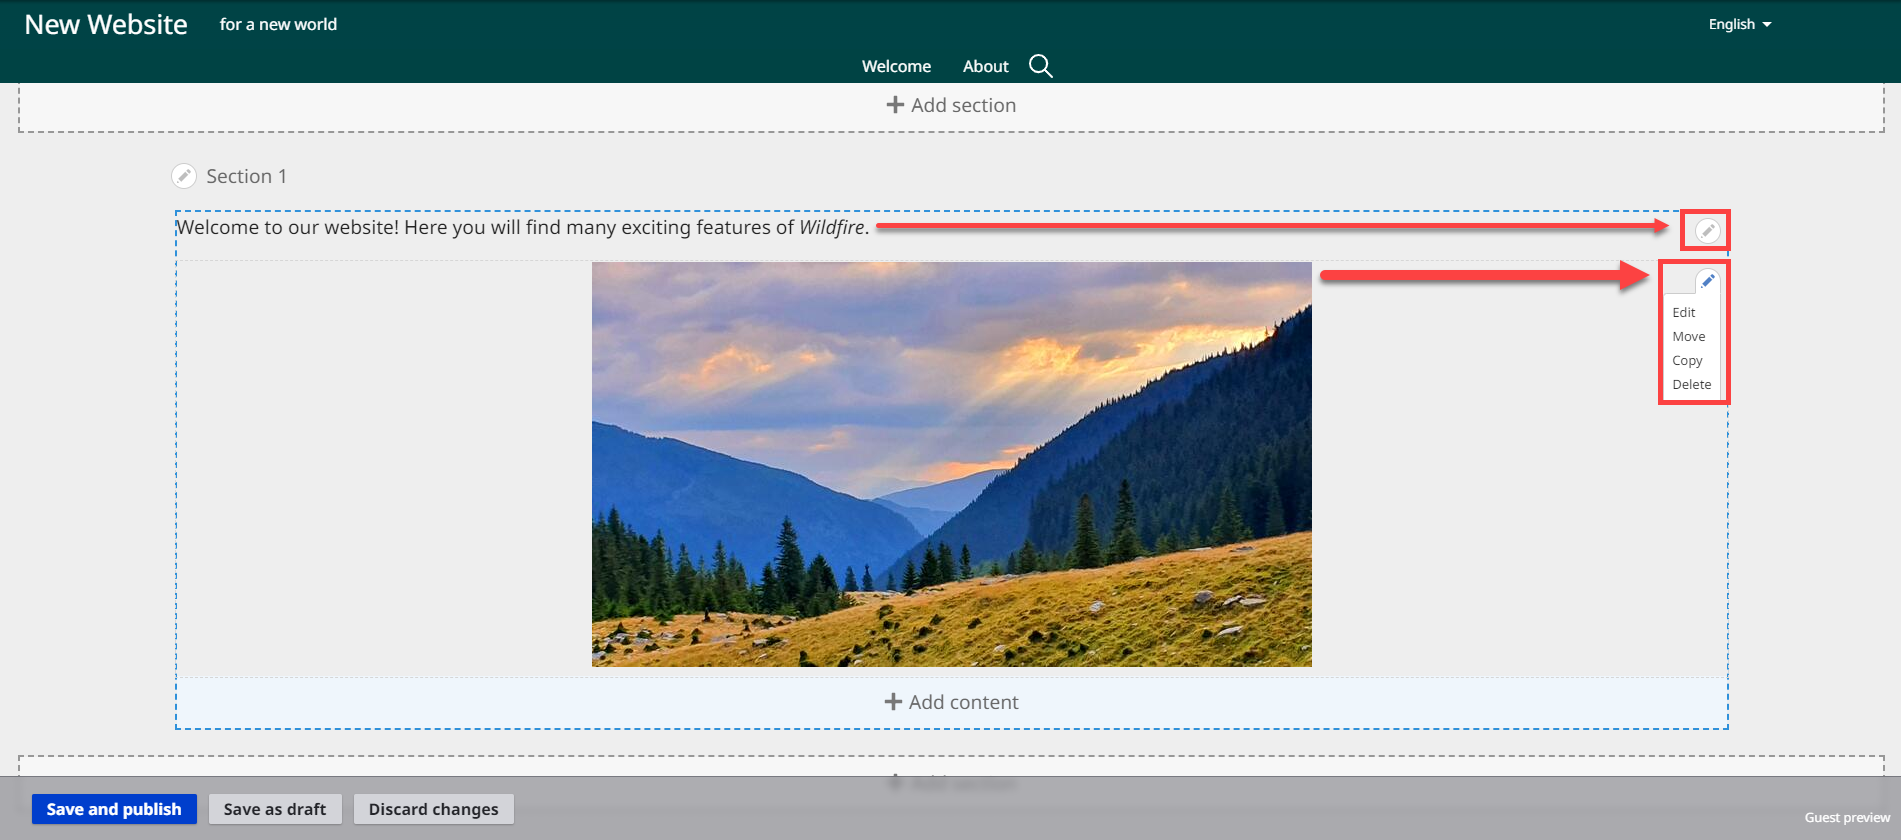
5. To edit your work, click on the pencil icon at the upper right corner of the Content block.
a) From the drop-down list, click on Edit.
b) In the image above, there are two pencil icons. One is for the text block; the other is for the image block.
G. Move content blocks on a page
1. As you create content blocks on a page, you may find that you want to arrange them in a different manner. There are two ways to do this.
a) You may move a content block within its own section, or you may move it to another section on the same page.
b) You may NOT move a content block from one page to another.
2. Method One: Use the Move sidebar.
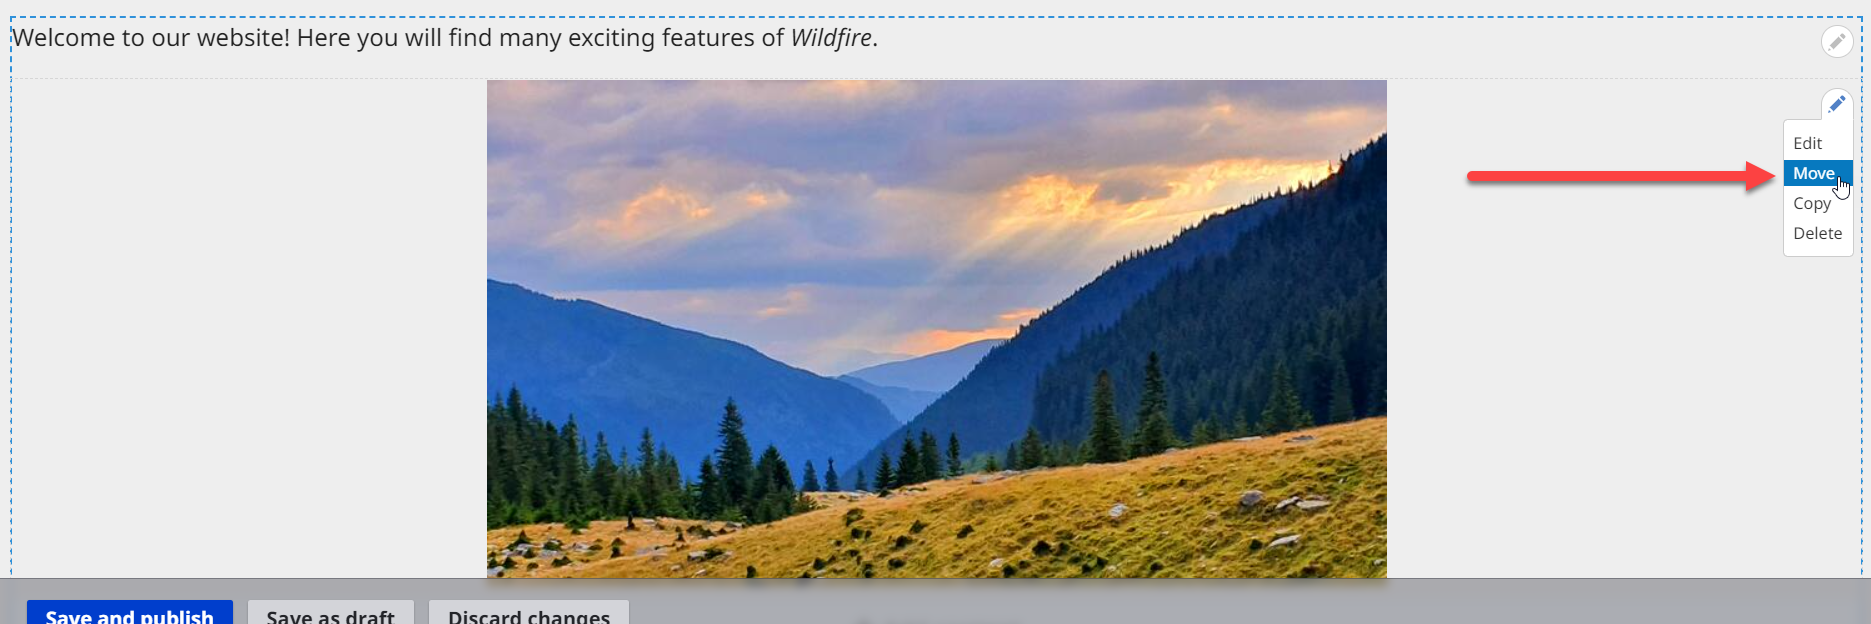
a) Click on the pencil icon at the upper right corner of the content block.
b) On the drop-down list, click on Move.
c) A sidebar opens:
d) On the simple page above, there are only two content blocks.
(1) They are identified in the sidebar as Inline block.
(2) The block in which the pencil icon was used is identified as (current).
(3) At the top of the sidebar, there is a drop-down list of the sections on the page.
e) To move a content block:
(1) Move the mouse cursor over the four-pointed arrow to the left of that Inline block.
(2) Click and hold, then move the cursor up or down to the desired position.
(3) Release the click.
(4) Click on the Move button at the bottom of the sidebar.
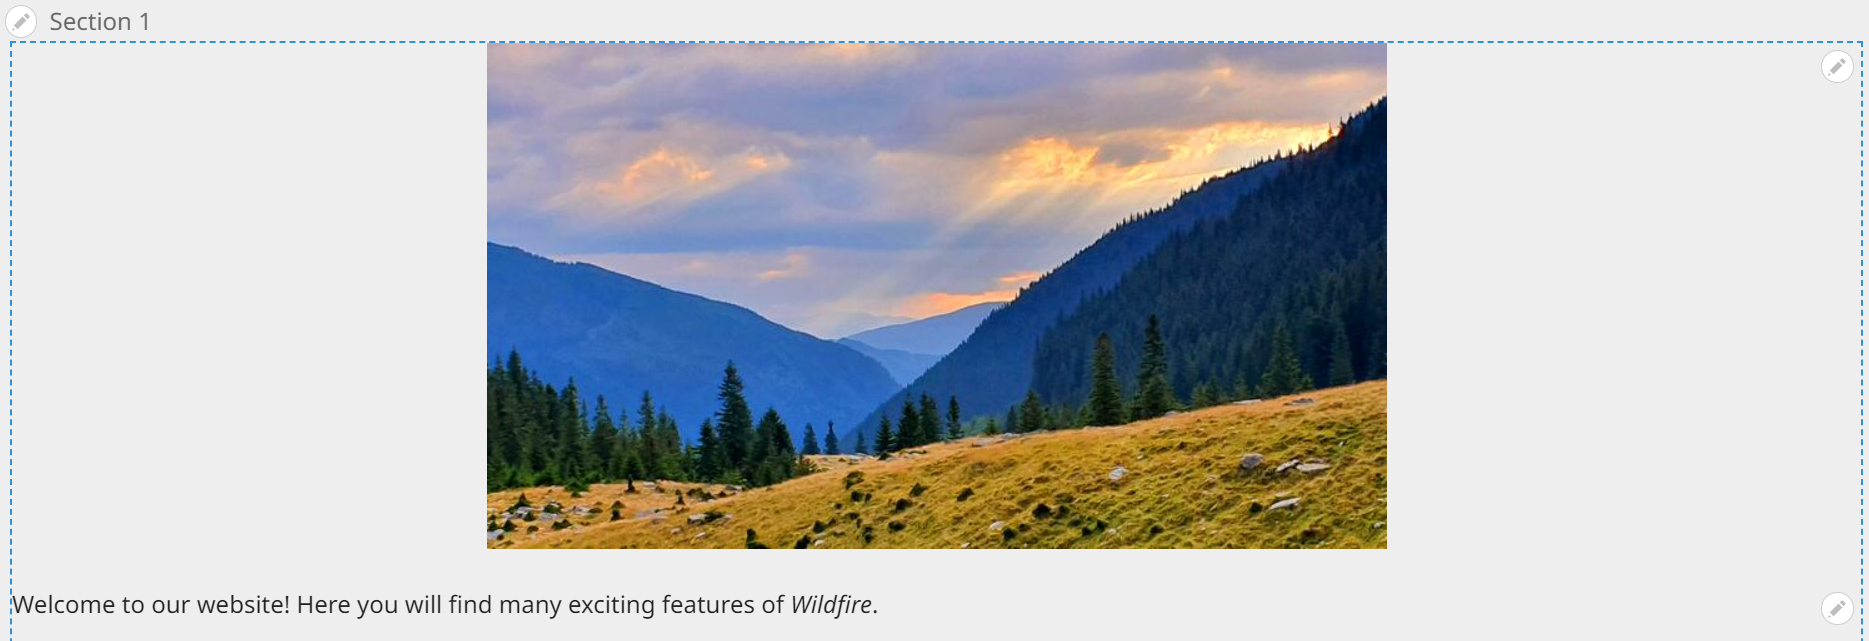
f) The sidebar closes, and your changes are shown in the Layout editor.
3. Method Two: The other way to move a content block is performed directly on the Layout editor screen, without opening the Move sidebar.
a) Position your mouse cursor anywhere inside the content block you wish to move.
b) The cursor becomes a four-pointed arrow.
c) Click and hold, then drag the content block to its new position.
(1) REMEMBER: You may move a content block within its own section, or you may move it to another section on the same page.
H. Copy a content block
1. As you create content blocks on a page, you may find that you want to copy a content block and duplicate it elsewhere on the same page.
2. Click on the pencil icon at the upper right corner of the content block.
3. On the drop-down list, click on Copy.

4. The content block will be duplicated and will appear right below the original content block.
5. You may move the new content block anywhere on this page – see Section G.
I. Copy a section
1. Sometimes you might want to copy a section from one part of the page to another, or even to another page. This saves time because you will not have to reapply the section settings every time.
2. First, go to the layout editor screen for the page containing the section you want to copy. Click the pencil icon next to the page title on the Overview screen; if you are already on the page, click the Edit layout button.
3. Click the pencil icon next to the heading for the section you want to copy and click on the option Copy section.
4. The section may now be pasted anywhere there is a blank section. You will notice that every box labeled with + Add section also has an option to paste your copied section there.
5. To paste the section, merely click the phrase Paste Section X, where X represents the number of the original section.
6. To paste the section on a different page, first save the changes on the existing page before opening the page where the section will be copied. You may also create a new page and paste the section there.
7. You may paste the same section as many times and on as many pages as are necessary. You do not have to copy the section each time.
J. Save or discard your work
At the bottom of the layout editing area, you will find three options for exiting the screen.
1. Click on the Save and publish button.
If the website has been launched, the page will immediately be visible to the public.
2. Click on the Save as draft button.
The page will not be visible to the public, but you will see it on the Overview screen.
The background color of the page sections will be different from the theme colors, as a visual reminder that this is an unpublished page.
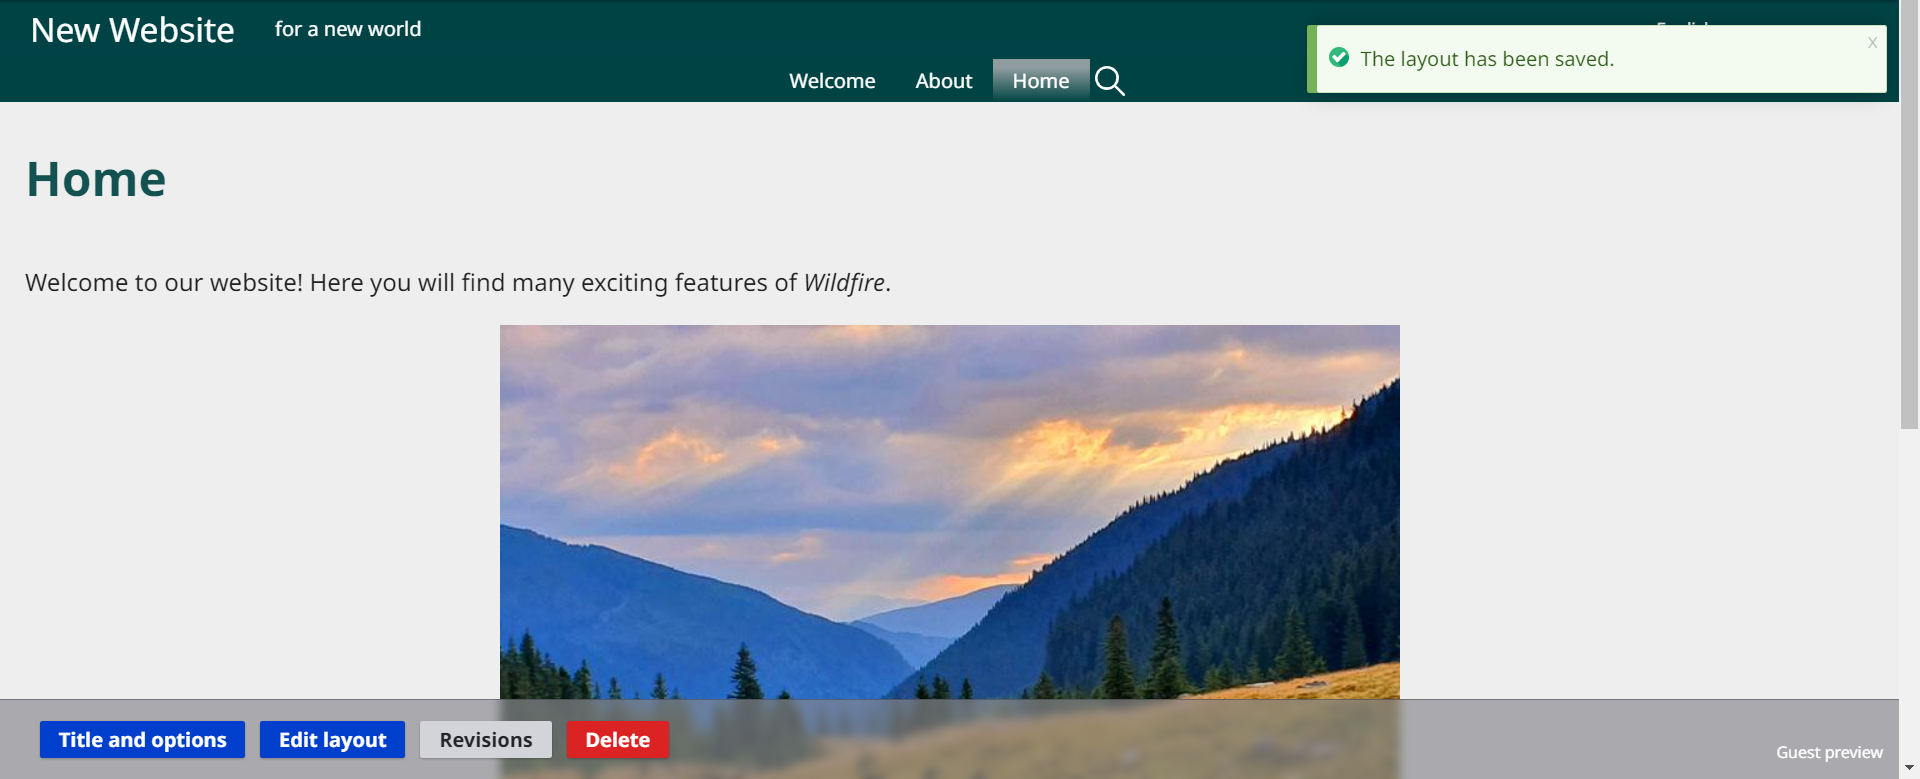
3. When you save your work, you will exit the layout editing screen and see a preview of the public version of the page.
(A green text box near the top of the screen will confirm that your new page has been created. You may click on the “X” at the right end of this box to close the box.)
4. To exit the editing screen without saving your work, click on the Discard changes button.
a) A popup on the right sidebar asks you to confirm if you want to discard your layout changes (leave the page without saving your work).
a) Title and options: Edit the page titles as in Section B above.
b) Edit layout: Add, edit or remove sections or content blocks.
c) Revisions: View early modifications (rarely needed).
d) Delete the page altogether.
2. To add a new page from the preview screen, in the Wildfire menu, click on sub-menu item Add page.


